There’s something magical about a fresh coat of paint. It has the power to transform a dull, tired room into a vibrant, welcoming space or breathe new life into an outdated exterior. But painting your house—whether inside or out—is no small task. To achieve professional-looking results, you need more than just a paintbrush and a can of paint. With the right techniques, tools, and mindset, you can take your painting project from daunting to dazzling. Here’s how to paint your house like a pro and give your space the makeover it deserves.
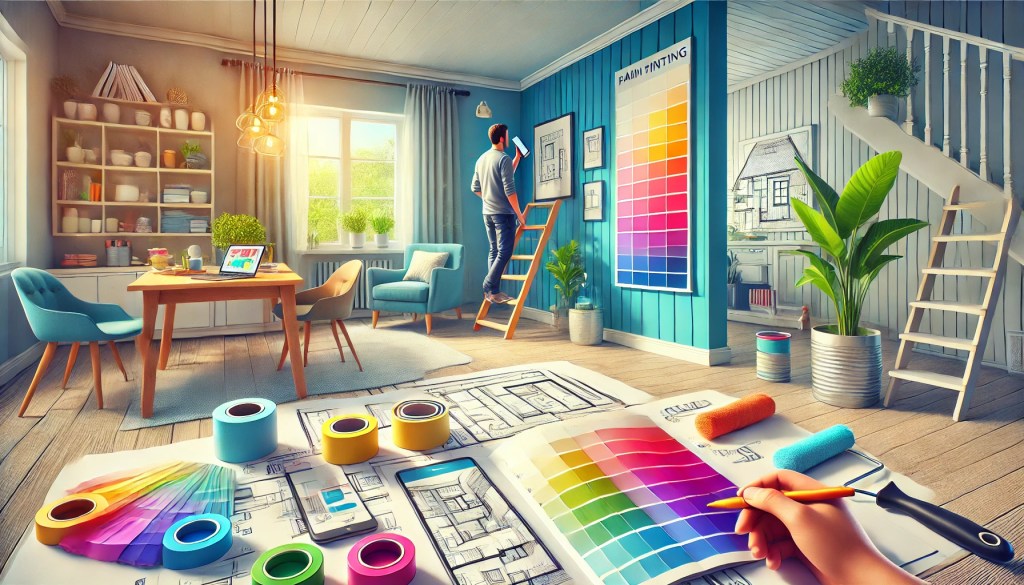
1. Start with a Solid Plan
Before you dip a brush into paint, take some time to plan your project:
- Choose Your Colors Wisely: Colors can set the mood of a room or create curb appeal outside. Consider the purpose of the space and how light interacts with the color. Test swatches on your walls and observe how they look at different times of the day.
- Calculate the Paint Needed: Measure the area you’ll be painting to avoid multiple trips to the store. Most paint cans have coverage estimates, but it’s always safer to buy a little extra for touch-ups.
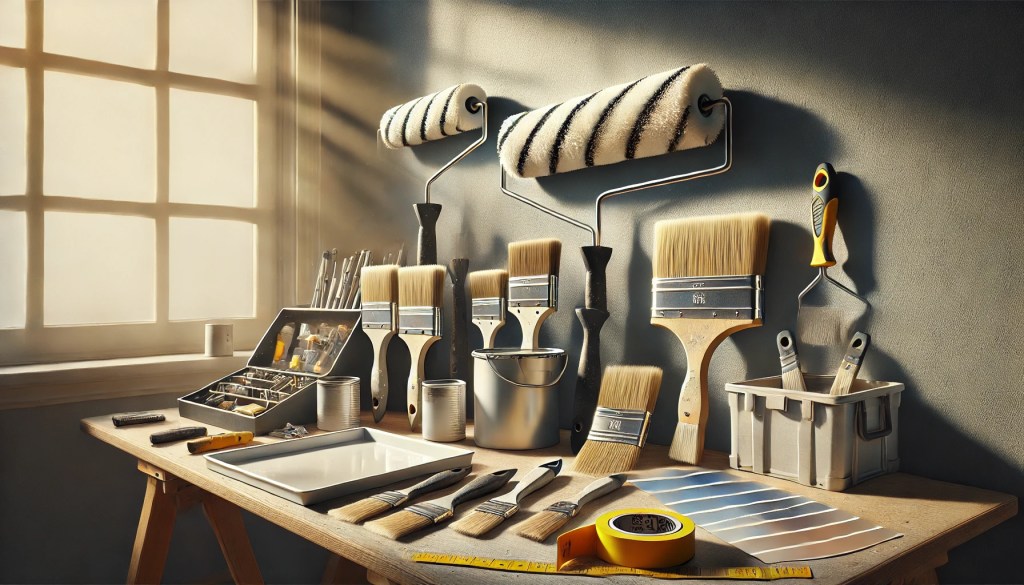
2. Gather the Right Tools
Having the proper tools can make or break your painting experience. Here’s what you’ll need:
- Paintbrushes (angled brushes for edges and trim)
- Rollers and roller covers (use high-quality ones to prevent streaks)
- Paint trays and liners
- Drop cloths or plastic sheeting
- Painter’s tape
- Sandpaper and a sanding block
- Putty knife and spackle for patching holes
- Ladder or step stool
3. Prep Like a Pro
Preparation is key to a flawless finish. Skipping this step is one of the biggest mistakes DIY painters make:
- Clear the Area: Move furniture and cover floors with drop cloths to protect them from paint splatters.
- Clean the Surfaces: Dirt, grease, and dust can prevent paint from adhering properly. Wash walls and let them dry completely.
- Patch and Sand: Fill in holes and cracks with spackle, then sand smooth. Sanding also helps the paint adhere better by creating a slightly rough surface.
- Tape Off Areas: Use painter’s tape to protect baseboards, trim, and ceilings for clean edges.
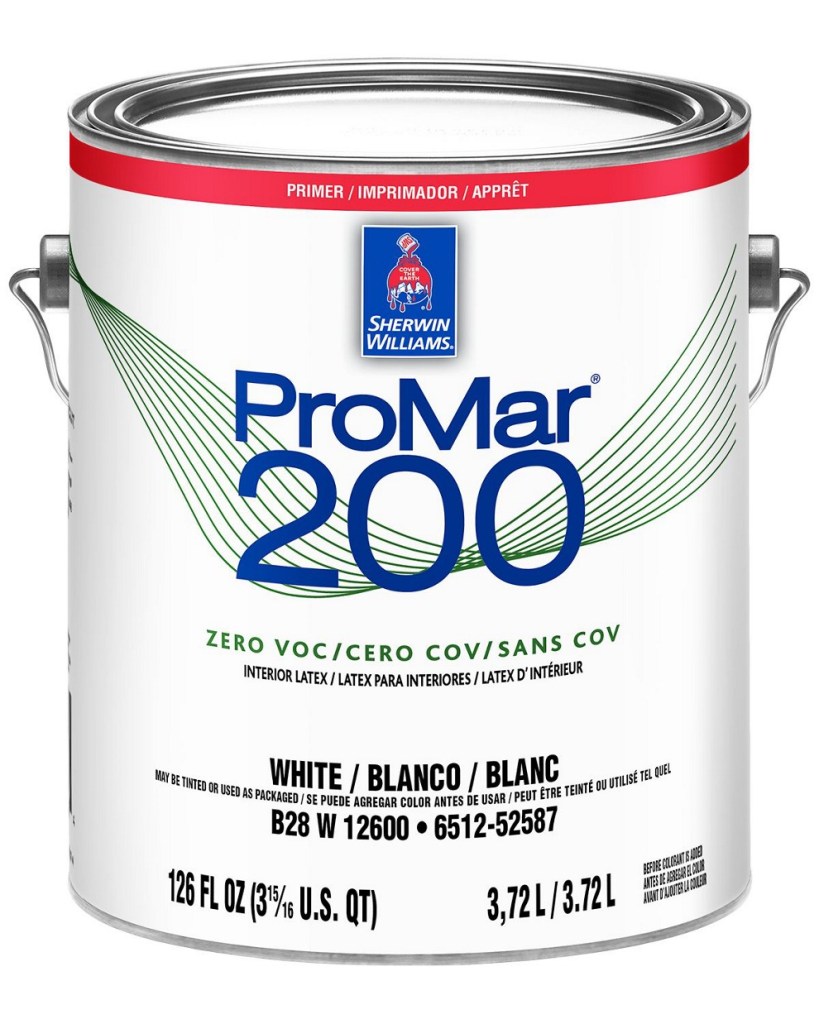
4. Prime for Perfection
Priming is an often-overlooked step that can make a huge difference:
- Why Prime?: Primer creates an even base for paint, covers stains, and improves adhesion.
- Choose the Right Primer: Use a stain-blocking primer for heavily soiled or water-damaged areas and a bonding primer for glossy surfaces.
5. Master the Painting Technique
Now comes the fun part—painting! Here’s how to achieve a smooth, streak-free finish:
- Cut In First: Use a brush to paint edges, corners, and around trim. This is called “cutting in” and ensures that the roller can easily blend the rest.
- Roll Like a Pro: Use a W or M motion with your roller for even coverage. Avoid overloading the roller to prevent drips.
- Work in Sections: Paint one wall or section at a time to keep a wet edge and avoid lap marks.
- Apply Thin Coats: Multiple thin coats provide better coverage than one thick coat. Let each coat dry fully before applying the next.

6. Focus on the Details
The small details can elevate your project from good to great:
- Remove Tape Carefully: Pull painter’s tape off at a 45-degree angle while the paint is still slightly wet to avoid peeling.
- Touch Up: Keep a small brush handy for touch-ups after the paint has dried.
- Clean Up Properly: Wash your brushes and rollers immediately after use to keep them in good condition for future projects.
7. Add the Finishing Touches
Once your paint has dried and your furniture is back in place, consider these final touches:
- Accessorize: Add decor that complements your new color scheme.
- Lighting: Update your lighting to enhance the freshly painted space.
- Celebrate Your Work: Step back and admire the transformation you’ve accomplished.
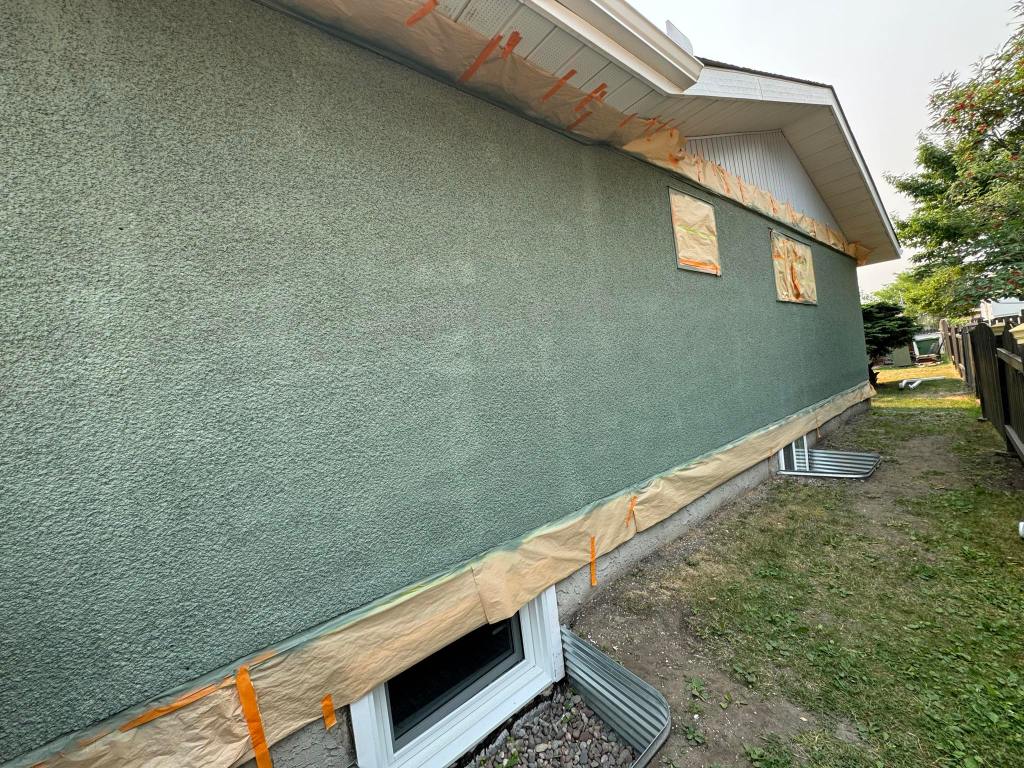
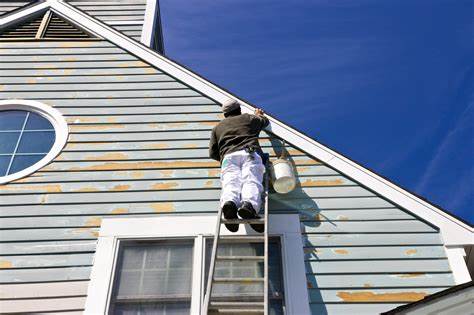
Pro Tips for Exterior Painting
If your project involves the exterior of your house, keep these additional tips in mind:
- Check the Weather: Paint on a dry, mild day to ensure the paint dries properly.
- Use Quality Paint: Invest in exterior paint designed to withstand weather conditions.
- Work Top to Bottom: Start at the top and work your way down to avoid drips on freshly painted areas.
Conclusion
Painting your house like a pro isn’t just about technique; it’s about preparation, patience, and attention to detail. With these expert tips, you can turn any space into a masterpiece that reflects your style and personality. So grab your brushes, roll up your sleeves, and get ready to transform your space—one stroke at a time!

Leave a comment